
Painting your wheels
Instructions for Painting Wheels
Please read these instructions fully before painting your wheels.
Here are a few guidelines to help you finish your wheels. Whether you are painting colour or clear, it is important to use good quality paint. Poor quality paint contains less pigment and in general will not flow very well when painting. Next you need a good quality brush; I recommend Purdy brushes. Unless you want to spend your time removing hairs from your finish, you will spend money on a decent brush. Generally speaking Purdy brushes are not the cheapest on the market but it is well worth spending that little bit more.
Required Tools
Paint Undercoat/ Varnish/ Gloss
White Spirit or appropriate thinners if using synthetic enamel/varnish
1" Brush
Small Paint Kettle or jam jar
Tack Rags available from us or online
WARNING- Before you start!
Do not shake paint stir! Shaking introduces air bubbles into the mix. To start, mix 50/50 thinners to varnish in your kettle or jar. A 50/50 mix will go a long way, so dont mix too much. Before you start painting soak and clean your brush.
Varnishing your wheels/wheel arrived from us with several coats of clear sealer on. This was done in order to help keep them clean during the manufacturing process and assist you in painting.
Stages
- First lightly rub your wheels down using 240 grit or finer. Scotchbrite is the best for this, the green/blue backing on sponges. Do not rub too hard as you will rub through the sealer and this may result in a blotchy finish.
- Remove the dust with a damp cloth or a tack rag.
- Using a 50/50 mix (thinners/varnish) start by painting the top face and front on all spokes, followed by the bottom face and back on all spokes. Next paint the inside of all the felloes. On the joint between the spoke and felloe, please apply varnish carefully as too much applied will result in a run. Finally paint the front of the felloes, followed by the back. At this point dont worry too much about cutting in. Leave to dry.
- Repeat stage 3 and leave to fully dry.
- Repeat stage 1.
- Mix approximately 80/20 (varnish/thinner) and pint again as described in stage 3.
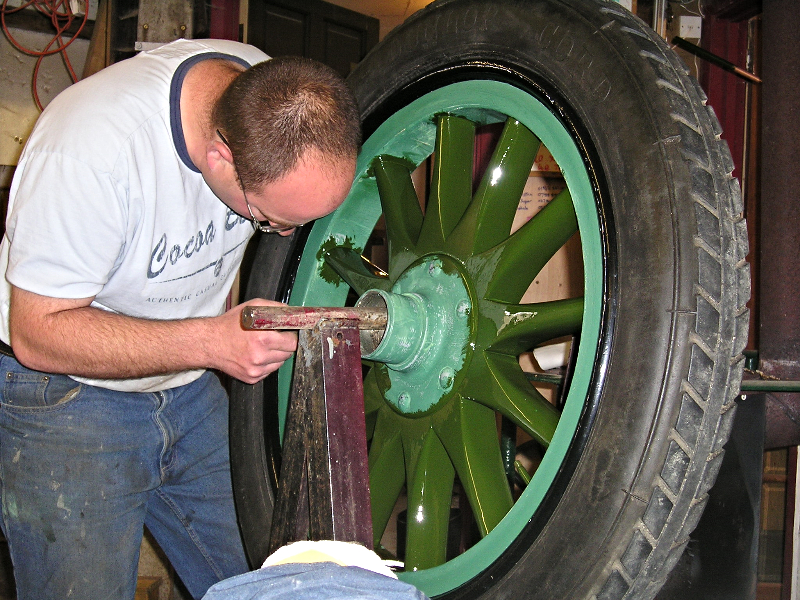
- At this point you will want to have the tyres fitted. We would advise you not to fully finish the varnishing process until you have had them fitted and in retrospect make sure you have some varnish on to protect the wood from dirty hands
- Now with the tyres fitted, completely clean the woodwork, rim and hub to remove any grease, oil or silicone. Pay particular attention to removing any silicone, paint will not stick to silicone and if not fully removed will result in the paint being repelled.
- Paint the rim and hub with a minimum of 3 coats of black Hammerite or 2 undercoats and a gloss coat. Remember to watch for corners e.g. bolt heads, nuts and washers for excess paint.
- At this point the woodwork should be fairly smooth to the touch and areas which still feel rough should be rubbed down.
- Remove or loosen the lid on your tin of varnish. Place your tin of varnish into a bowl or small bucket. Fill the bowl with hot water, not boiling water. Avoid getting any water in the varnish and be careful not to overfill as the tin may float or fall over. Leave to stand for 10 minutes to allow the heat to transfer through the varnish and then stir. By slightly heating the varnish allows it to flow better and aids with the drying process. This stage is not essential, although recommended.
- Repeat the painting process as described in stage 3. Dont forget to watch your corners for excess varnish and this time you can paint the woodwork and rim if you wish.
- Leave to dry for at least 24 hours.
- Now from this point on, you are free to repeat the varnishing process as many times as you wish. We recommend a minimum of 5 times as shown below with different mixtures.
- 50/50
- 50/50
- 80/20
- 100
- 100
Finally fit your wheels on your vehicle. Stand back and admire your handy work and wheels.